Cute Pumpkin Carving Ideas for the Whole Family
Bethany Johnson, Contributor
Directions:
This season's most iconic kids' activity is the ceremonial pumpkin carving. Kids will love creating personalized gourds for display on the front porch—and you secretly love it, too! Use the cute pumpkin carving ideas below for inspiration. Whether your kid's finished pumpkin is simple, intricate, or displays a special Halloween message, it's something he's sure to be proud of.
To get started, gather all your materials (including your kids!). Lay out some old newspapers and place the pumpkins on top before cutting a circle "lid" out from around the pumpkin's stem. Once the lid is removed, have little hands help muck out the pumpkin's innards. Enjoy the sound of your kid's exclamations as he feels the slimy, squishy gunk for the first time this season. With your child's help, scrape the internal walls of the hollowed-out pumpkin clean using a spoon.
![[cute pumpkin carving ideas – muck] Young child shocked at the slimy job of cleaning innards from pumpkin](/public/images/parents/191804.jpg)
Simple Shape Designs
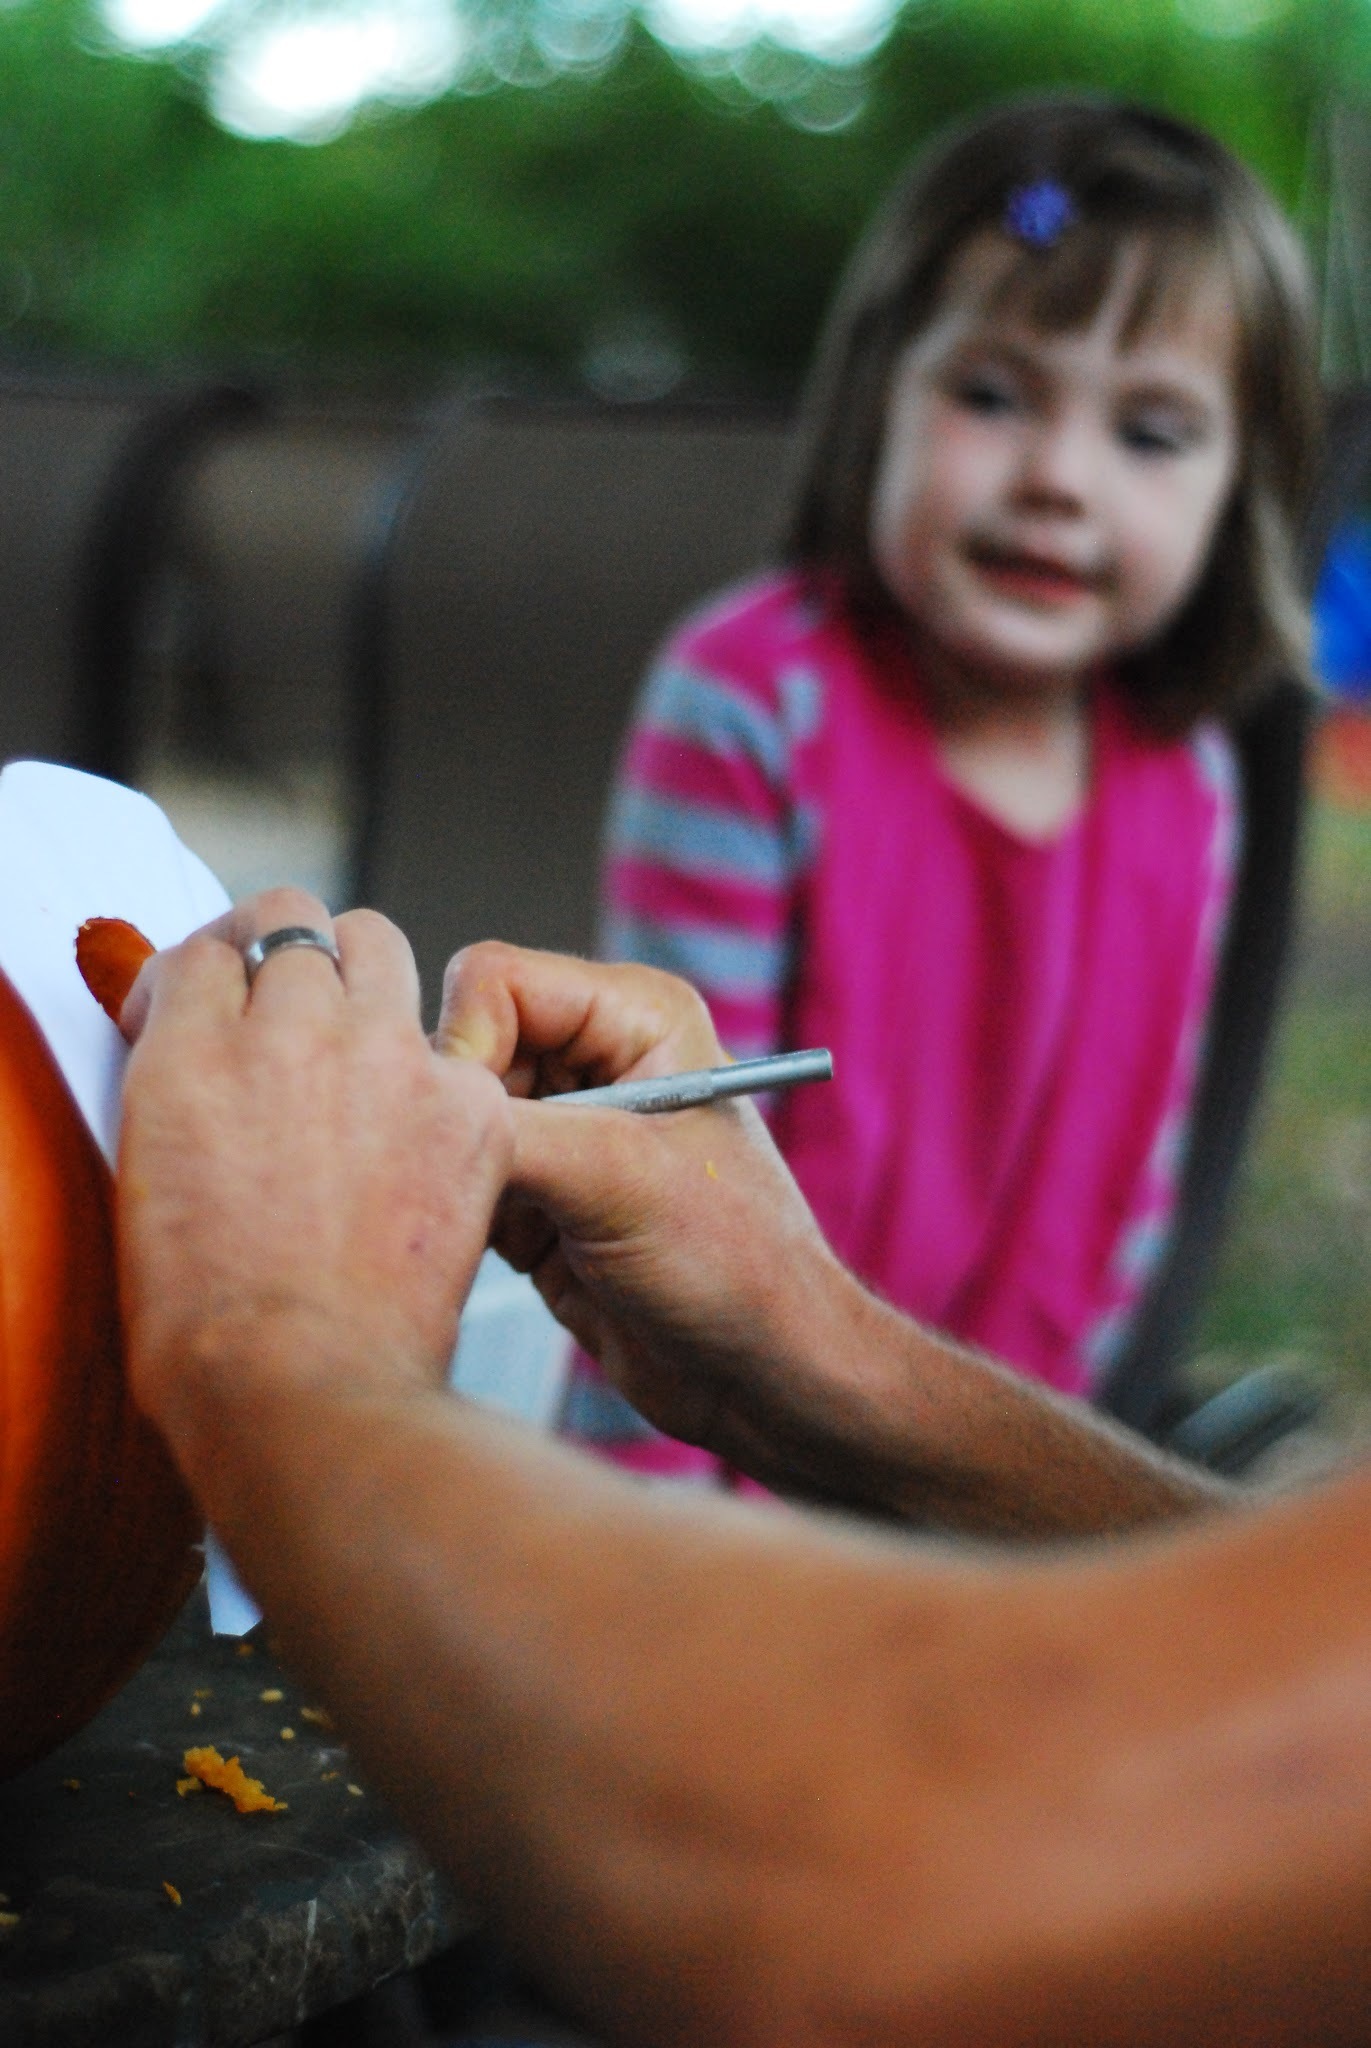
Have your child draw an easy geometric design onto the pumpkin with a marker (think triangle eyes and half-circle mouth). For smaller kids, it might be easier for them to draw a design on paper first, then trace the pattern onto the pumpkin. To carve your design, use a sharp kitchen knife and start with the smallest areas first so large chunks can hold steady until the very end. Provide a stool so kids stay engaged, and can observe everything you're doing while you work the knife.

Encourage your children to accessorize these cute pumpkin carving ideas with their own flair. What does every smiling jack-o'-lantern need? Its own hat, whether it's a real one or painted on.
Instead of using a plain old tea light, use a heart-shaped candle to illuminate your child's pumpkin shapes from the inside. Make a ceremonial wish before the heart goes in your personalized pumpkin.
Intricate Shape Designs
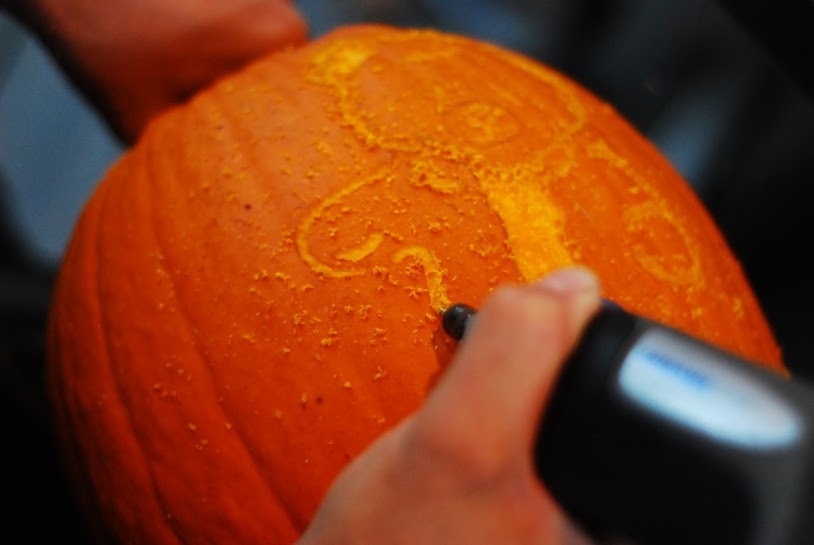
Have your child sketch a spooky monster of their own design on the gourd (a dry-erase marker lets them easily fix mistakes). For more detailed designs, consider using a rotary tool to shave only halfway through the pumpkin. You can choose which parts to cut through completely, leaving some portions partially grazed, but not removed—this allows you to control how much light shines though in specific areas.

Let your child attach her hair bows to the finished jack-o'-lanterns or add some bright glitter to make an animal pattern sparkle in the moonlight. If your design is a spooky zombie, your kids can embellish it with homemade green slime (lime Jell-O, anyone?).
Text Designs
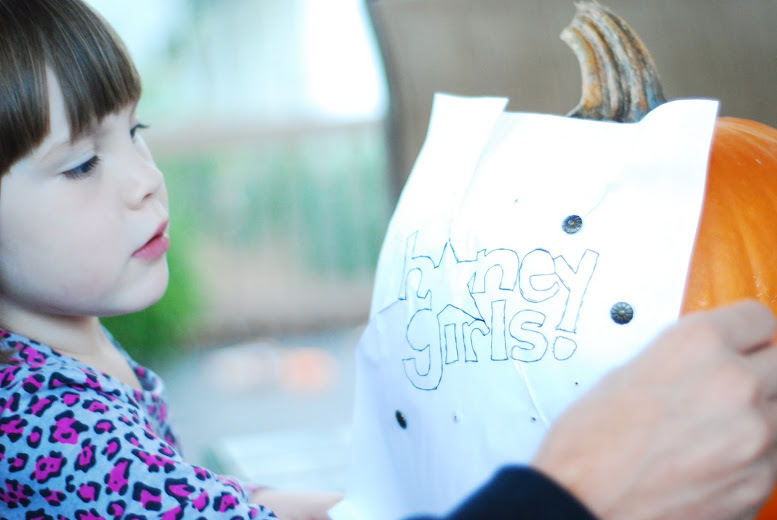
Create a personalized template by printing out a message using block letters, then transfer the design onto the surface of your pumpkin with carbon paper. Stack your printed template on top of the carbon paper, then press, black side down, onto the flattest surface of the pumpkin. Have your child affix the papers to your pumpkin with scotch tape or thumb tacks before tracing the pattern with a pen.

Next is arguably the most fun of all—let your child pull the tacks or tape off of the pumpkin and paper, and slowly reveal the transferred pattern. They'll love seeing the words from the paper in bold, block letters on a pumpkin! Carve out your message using a small knife or rotary tool to preserve as much detail as possible.
![[cute pumpkin carving ideas – reveal1] Young child inspects design blueprint on a pumpkin before carving](/public/images/parents/191800.jpg)
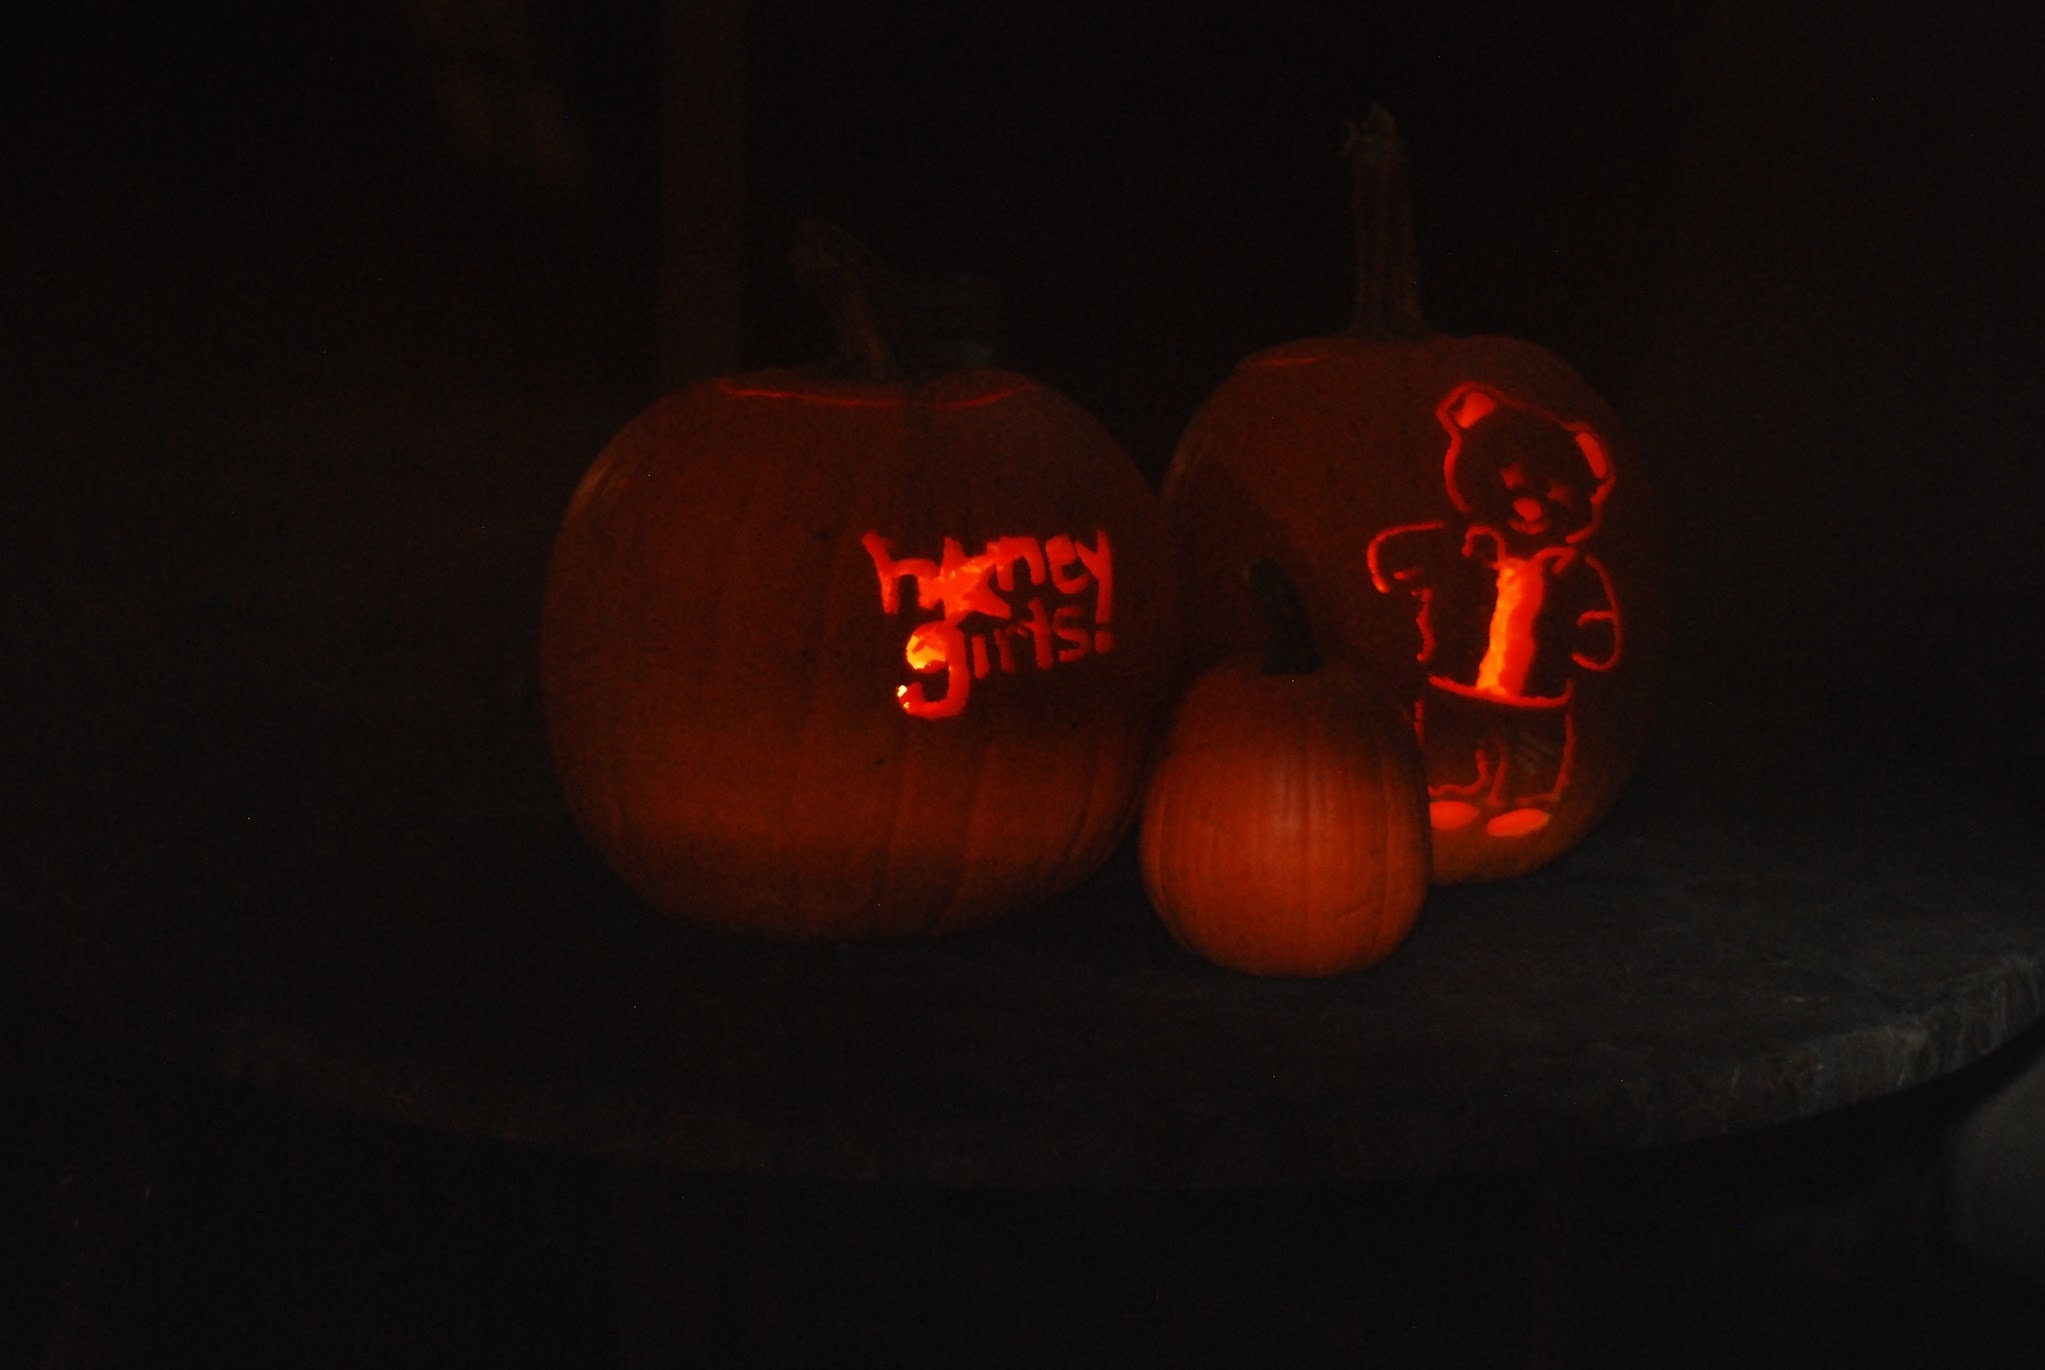
Really get your message across with glow sticks—use all you can find for a rainbow light show. Or carve a long message among a few pumpkins and each day, reveal a new word to your neighbors. Whatever you decide, your cute pumpkin carving ideas will be the envy of all the neighbors!


